How To Create NFT From Scratch Using Code – Step by Step
If you feel like coding is for geeks, think again. I’ll show you in this article that using codes to generate NFT art is not as hard as you think. This guide provides a step-by-step process of how to create NFT from scratch using code—the complete NFT collection of 10,000 original images in minutes.
But before we get started, if you’re new to NFT, I recommend you read our beginners’ guide to NFT first before proceeding.
And if you don’t love coding, then our guide on how to create NFT without coding, is just what you need.
How To Create NFT From Scratch Using Code
Contrary to many people’s belief that creating 10k NFTs using code would be a daunting task, the reality is that it’s quite simple. Thanks to codeSTACKr on YouTube for the guide. Here’s a video tutorial of the process:
Here are the steps you should follow to create an NFT from scratch using code:
Step 1: Create Layers for the Traits That Would Appear in Your NFT Collection
To be able to generate our NFT collection using code, you’ll first need to design the layers. This method is the most widely used technique for creating NFT using code, especially when it’s a large collection — for example, 10,000 NFT.
Basically, you start with a base image (background) and then add more layers (traits like hair, face, accessories, eyeballs, etc.). The combination of these layers would create the resulting image in your NFT.
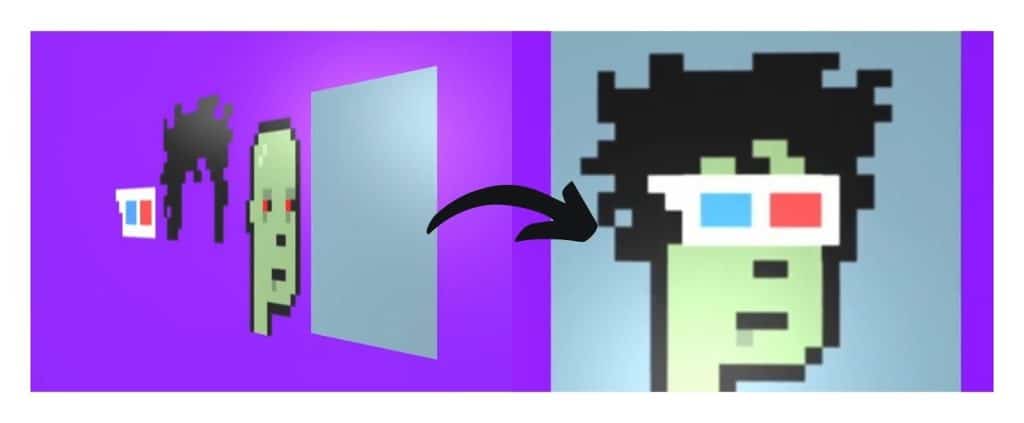
There are various tools available that you can use to create these layers. Some popular examples include Figma, Procreate, Photoshop, etc.
I advise you to use whatever software you’re comfortable with and have access to. However, in this article, I’ll be using Figma. I’m choosing Figma because it’s a vector-based software and doesn’t cause an image to get pixelated when resized.
Note: If you don’t have Figma installed, you can download it before starting. There are many videos on YouTube if you need help. Additionally, this section won’t be a full Figma tutorial, so you can search for Figma beginner tutorials on YouTube to become familiar with the software.
Now to create the layers:
Background
Create a range of background options in solid colors or other interesting designs starting with the backdrop layer.
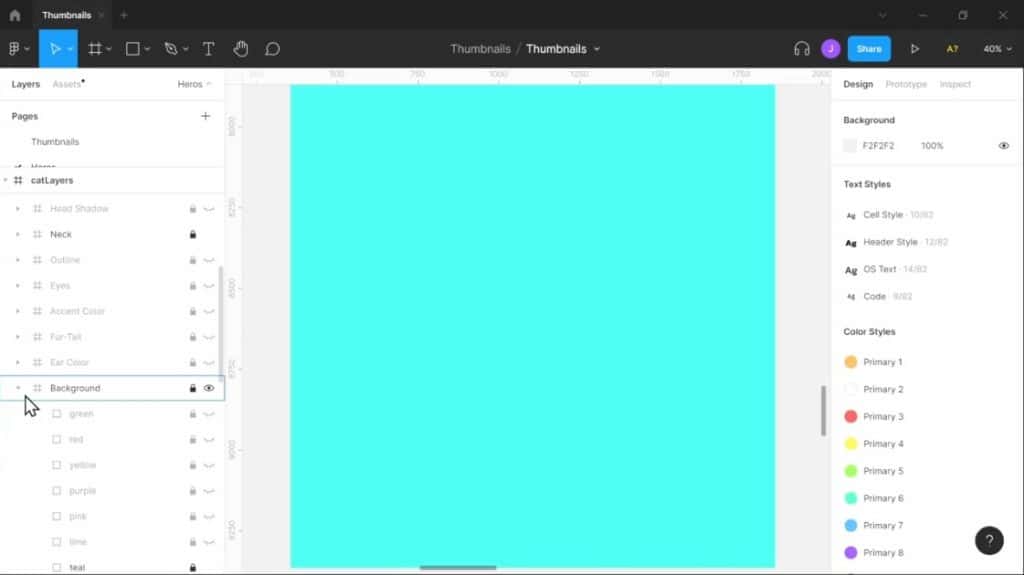
Quick Tip: It’s a good idea to include the layer’s weight in the name (e.g., #100).
For example, “Blue eyes #1” would be the name of the image. This number would indicate the rarity of that particular layer or trait. Any integer can be used as the value, with smaller numbers indicating rarer traits. In cases of universal traits(for example, background layers), don’t add any value to the name.
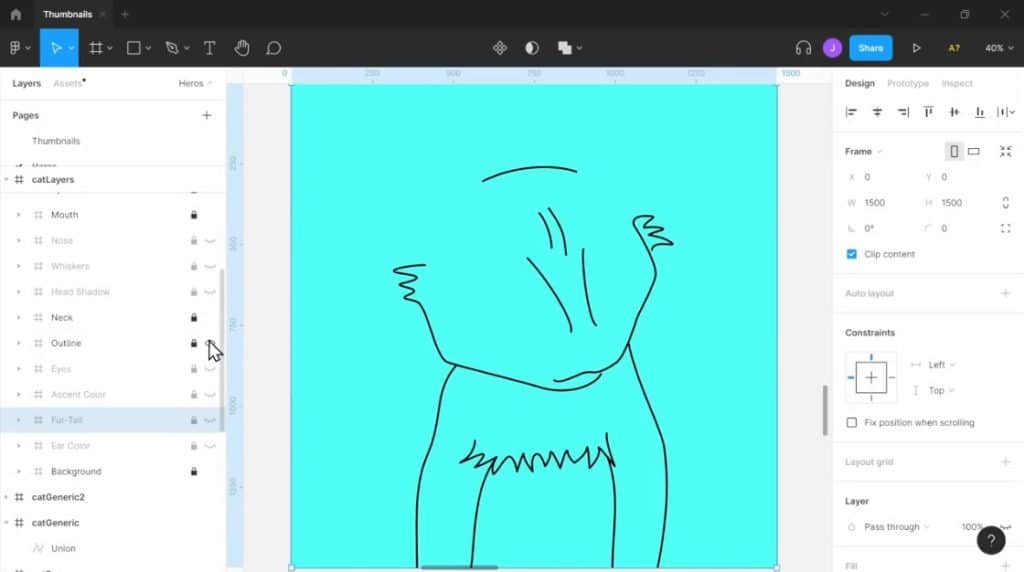
Outline
The next layer should be the fundamental layer, which should be the same for all images. This base layer would be the framework or contour of each image in your collection.
Traits
Then, add additional layers to reflect the attributes you want to assemble. For example, fur color, accent colors, headgear, eyes, eyewear, mouth, whiskers, tails, and more. Each layer should offer options that we can use to create unique visuals. And of course, some should be rarer than others.
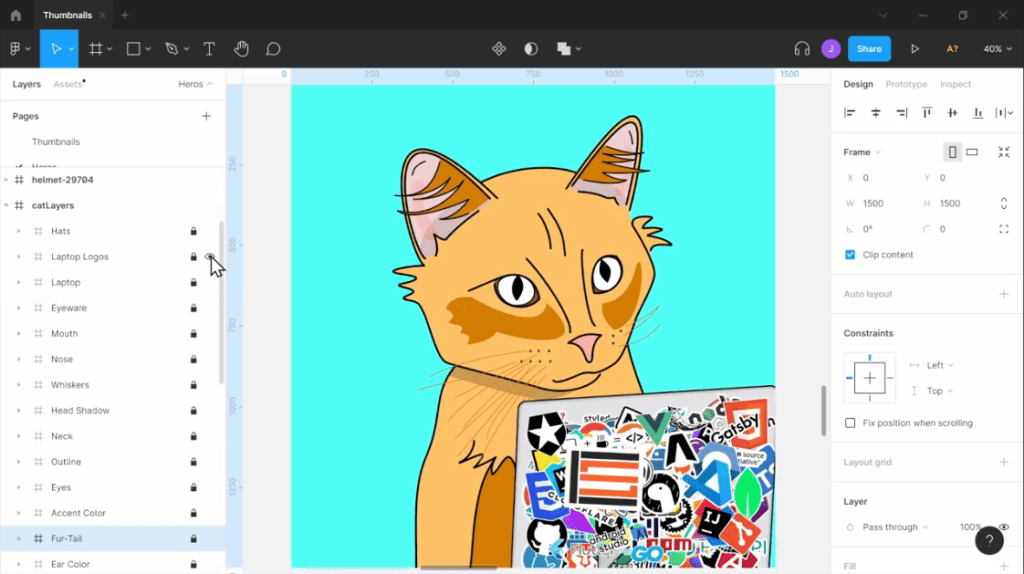
Note: Each trait has different variations, which will help us generate unique images. For example, the “Hats” layer has various options like beanie, hard hats, propellers, etc. Here’s where you need to be creative.
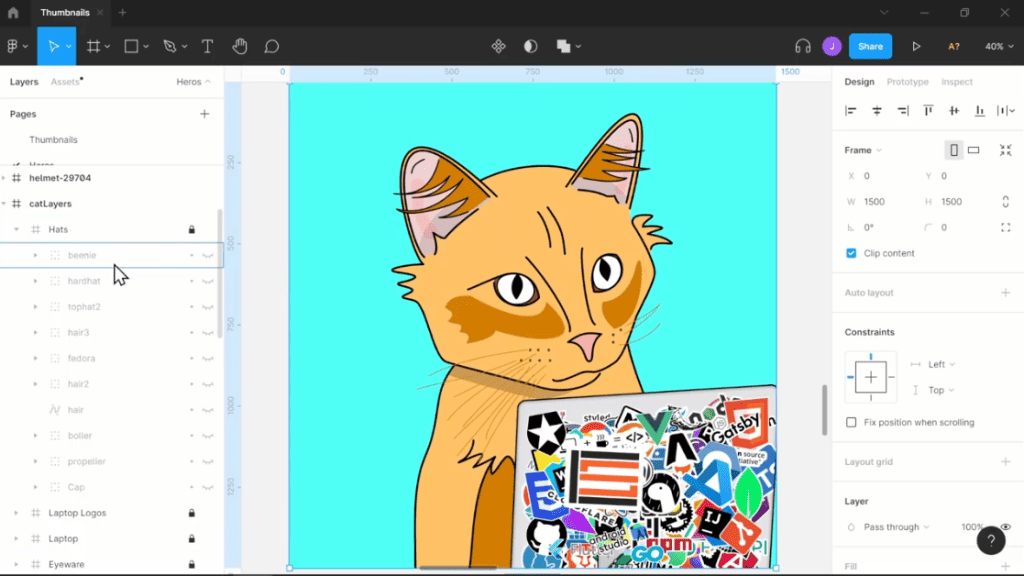
Once you’re done, export each layer as a PNG file to keep the layer’s transparency. Keeping the file in this format would allow us to easily overlay the images when generating the collection.
Step 2: Download and Install HashLips Art Engine
By the time you’ve finished creating all the layers, you might end up having between the range of 20-100 layer variations to work with. Manually combining each layer to create 10,000 unique images will be time-consuming. However, you can save time using the HashLips Art Engine program.
The HashLips Art Engine application would allow you to generate 10,000 unique images using code. However, to use the program, you’ll have to go to GitHub and download the most recent version of the project’s repository.
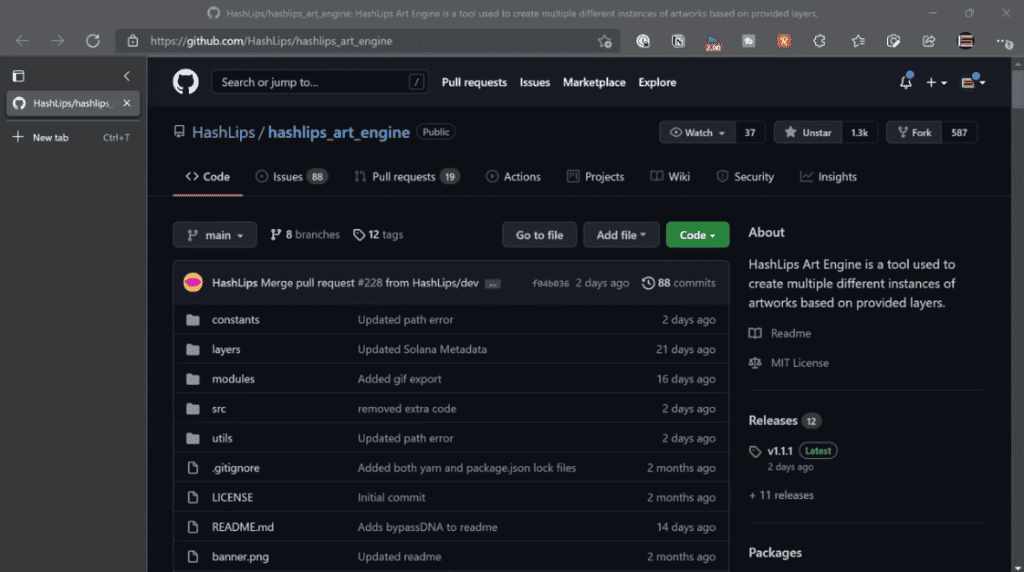
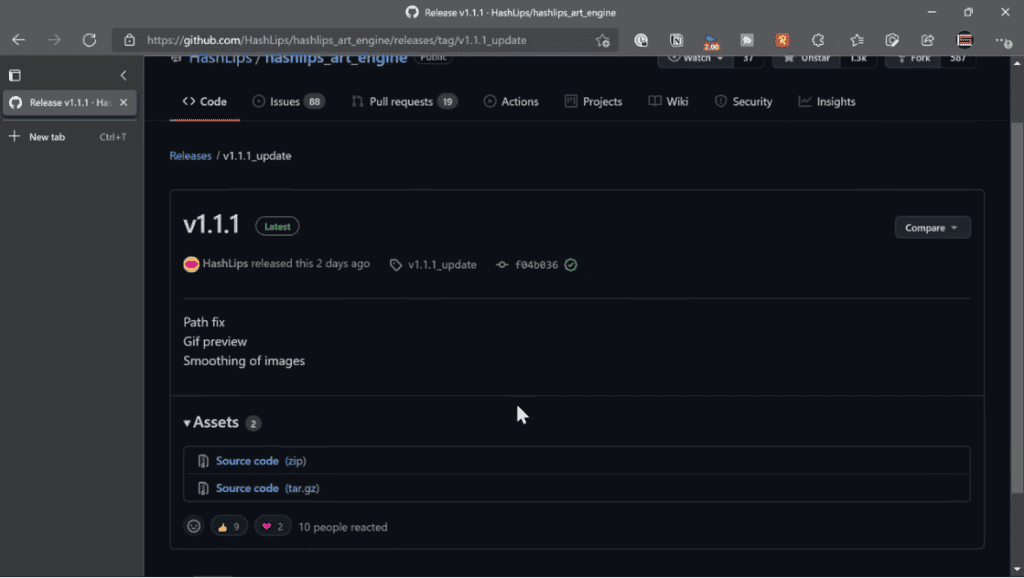
Click on the “latest” box under the “Releases” section and go and download the source code’s zip file for the application. Finally, you then unzip the package.
Step 3: Download and Install NodeJs and VS Code
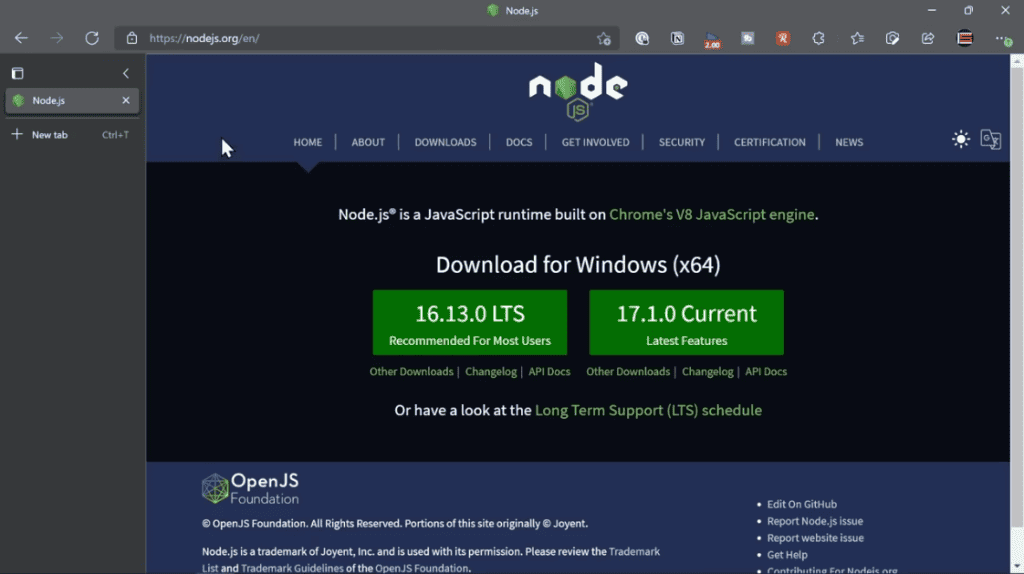
In addition to HashLips Art Engine, you will need to install NodeJS especially if you’re new to coding.
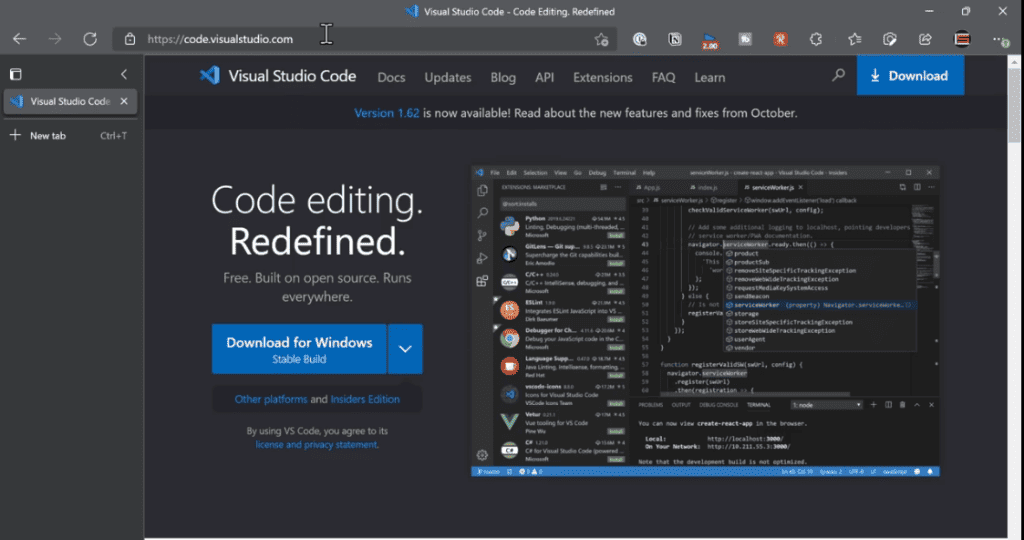
Additionally, you’ll also need to download and intall a code editor, I recommend using VS Code.
Step 4: Unzip and Run the HashLips Art Engine Progam in VS Code
After installing both applications, run the unzipped “HashLips Art Engine” file in the VS Code folder. To do that, follow the following steps:
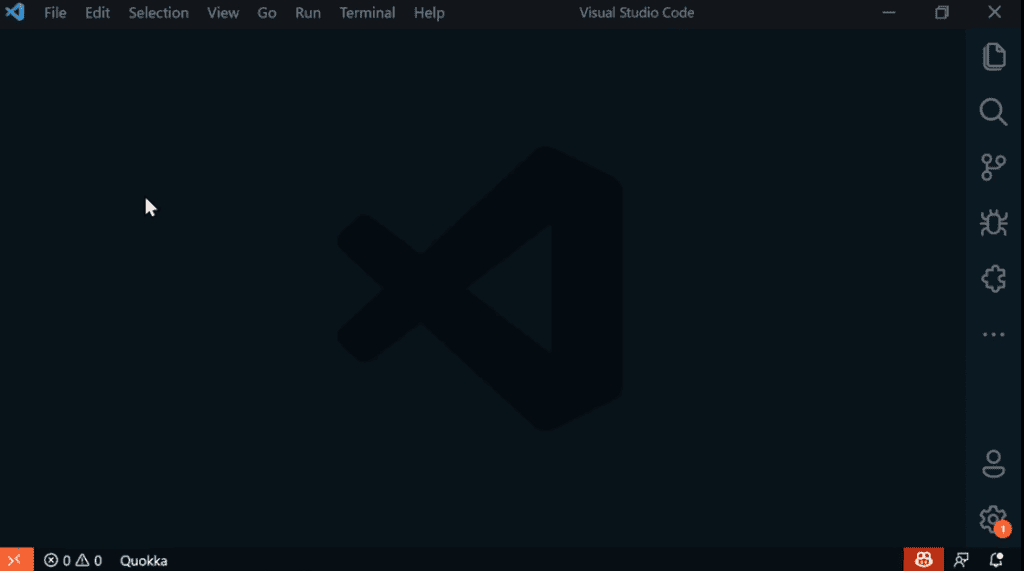
- Select “File,” then choose “Open Folder” and then navigate to location of the “HashLips Art Engine” folder we’ve unzipped. The click “Choose Folder” after choosing a folder at the.
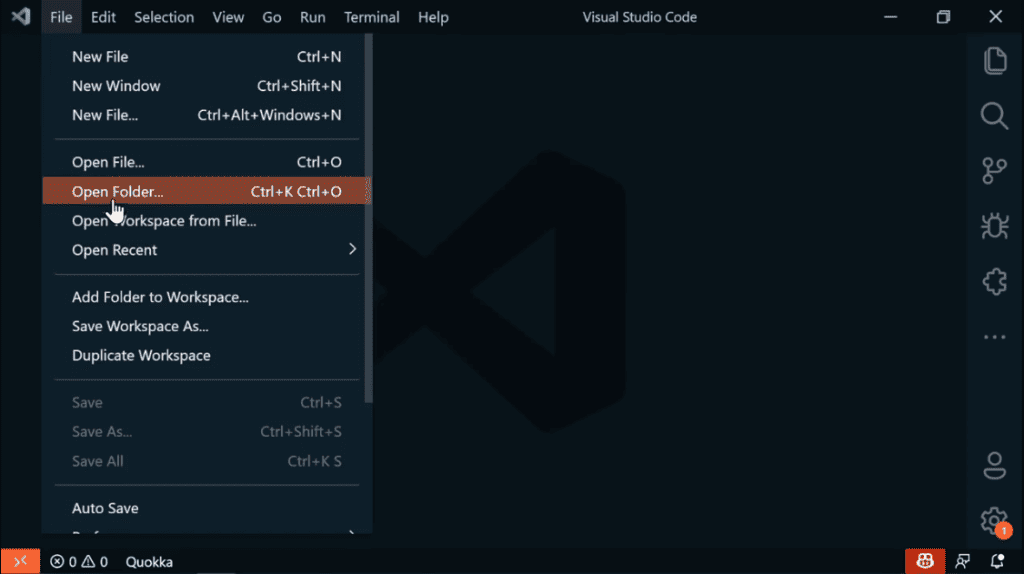
- Then, you should have a screen similar to the image below. Here, the HashLips Art Engine’s basic layers are already set up as an illustration, which you can modify for your collection.
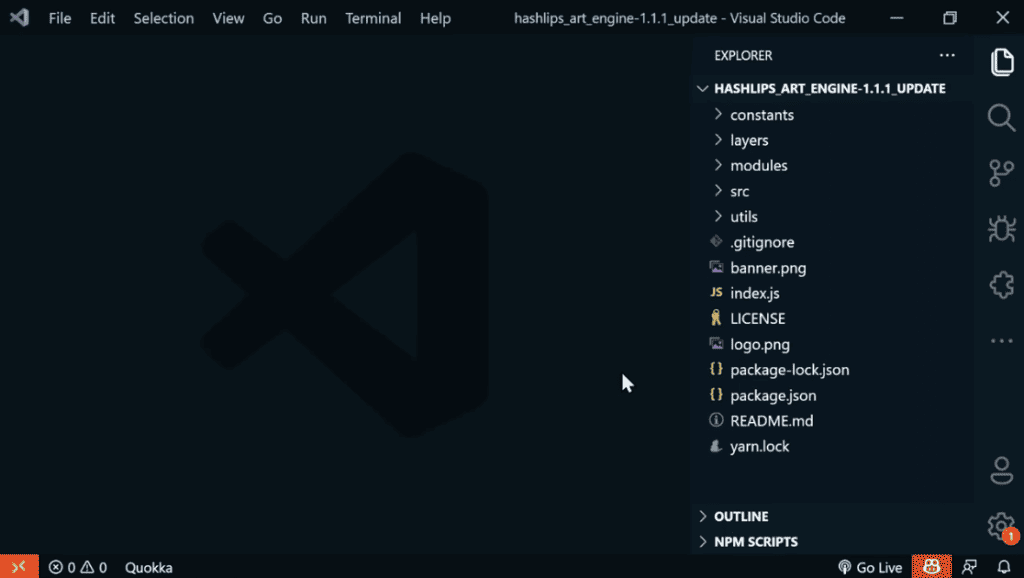
Step 5: Install the Dependencies for the Application
Before we can start using the application to generate NFT arts, you’ll first need to download the dependencies.
- You can do so by click on the “Terminal” tab and click on “New Terminal”. Then it would open a prompt box where you will write “npm i” and click enter.
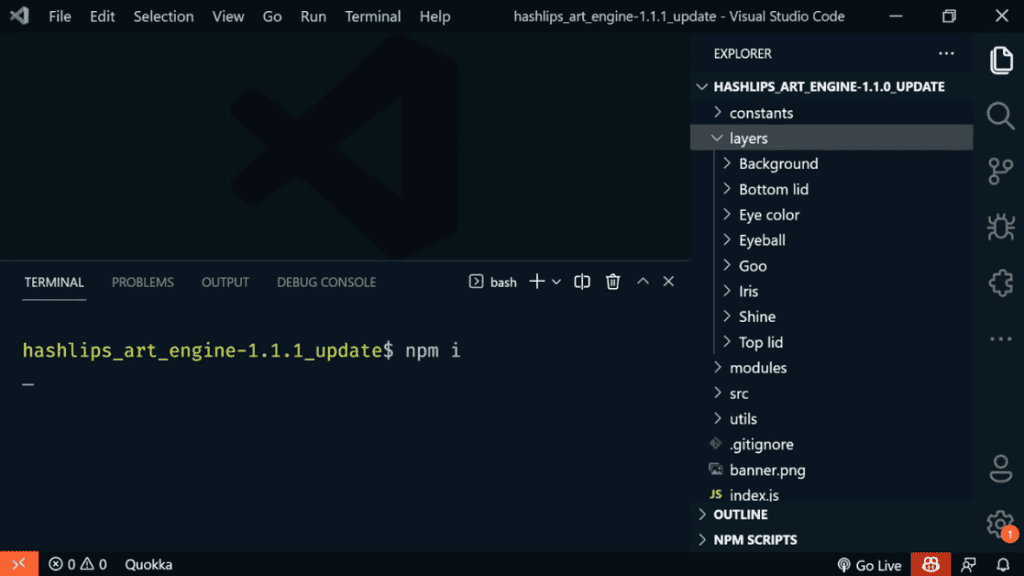
- This prompt would download all the dependencies that’s required to run the program.
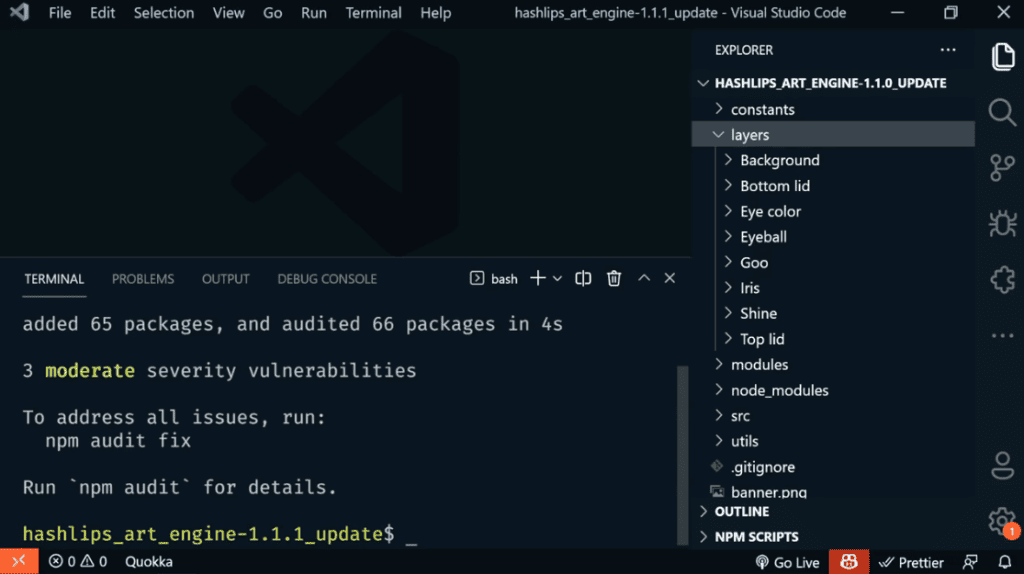
- After the program’s dependencies have been installed properly as seen above, then you can move to the next step.
Step 6: Configure the “Main.js” Section
- Close the terminal we opened previously and head to the “src” section and click on “main.js”
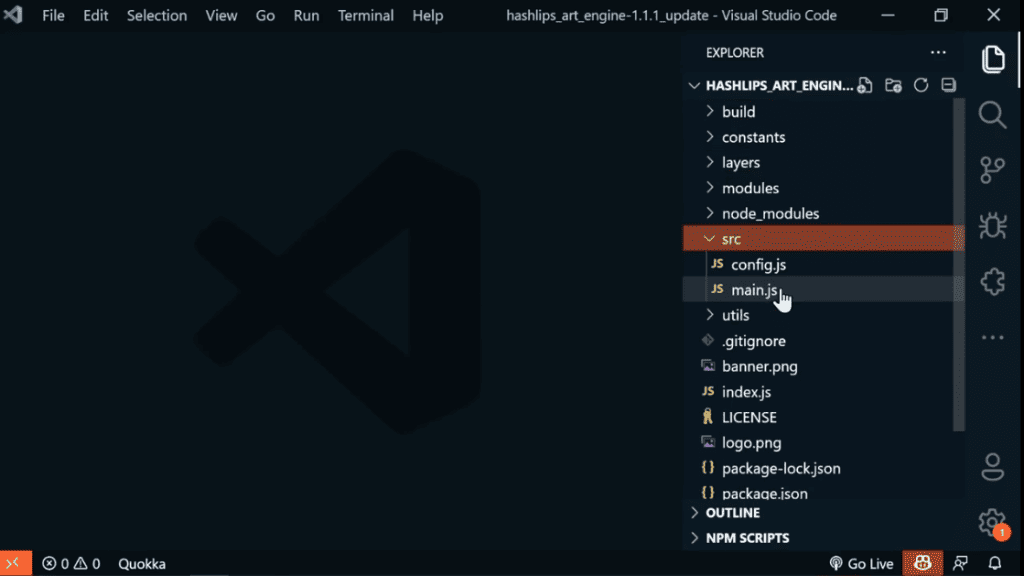
- This would open up a series of code which might look intimidating but don’t worry, I’ll will work you through it.
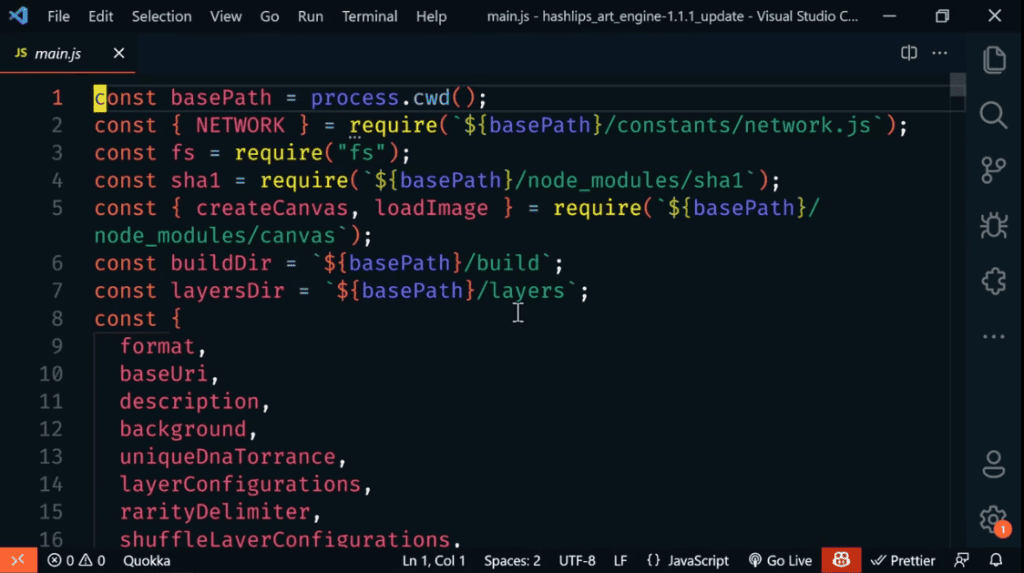
- Just scroll down to the line 133 and effect the changes as shown below:
Before:

Edit:

- Then you’ll scroll down to line 306 and do the edits below:
Before:

Edit:

- Finally, you are going to save the edit (Ctrl+S) and close the section. Then move to the next step.
Step 7: Import the Layers
- Here, we want to import the layers we’ve exported from Figma in Step 1. Go to the “Layers” section, right click on it and click on “Reveal in Folder.”
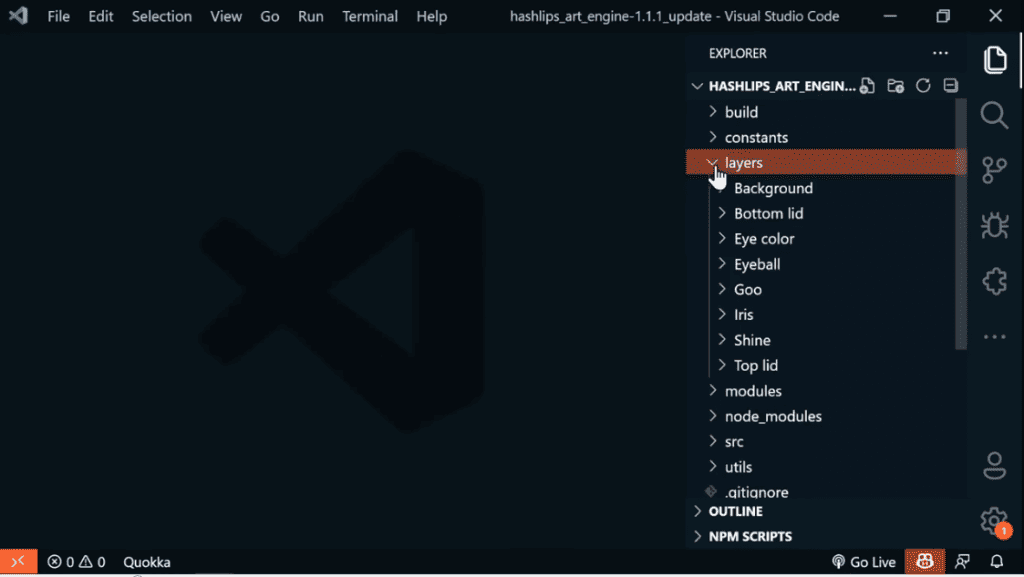
- Enter the layer folder and delete the default layers
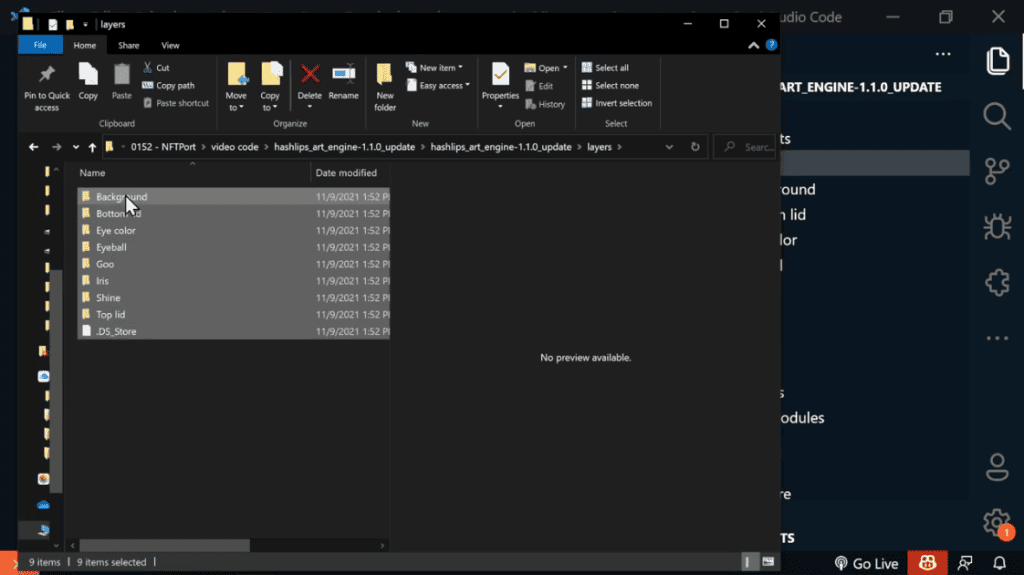
- Then copy and past your own layers into this folder, in the case, the one we exported from Figma.
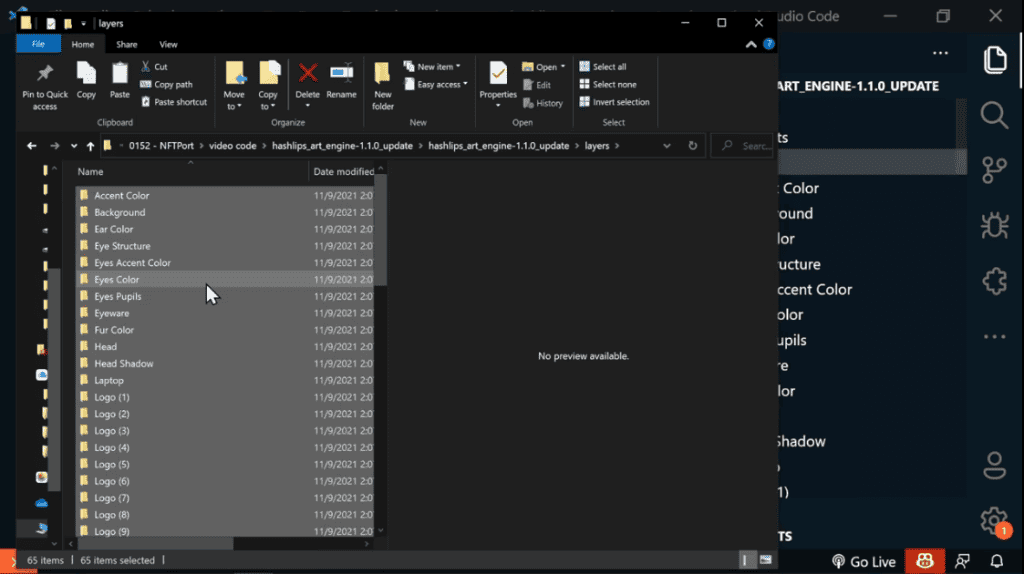
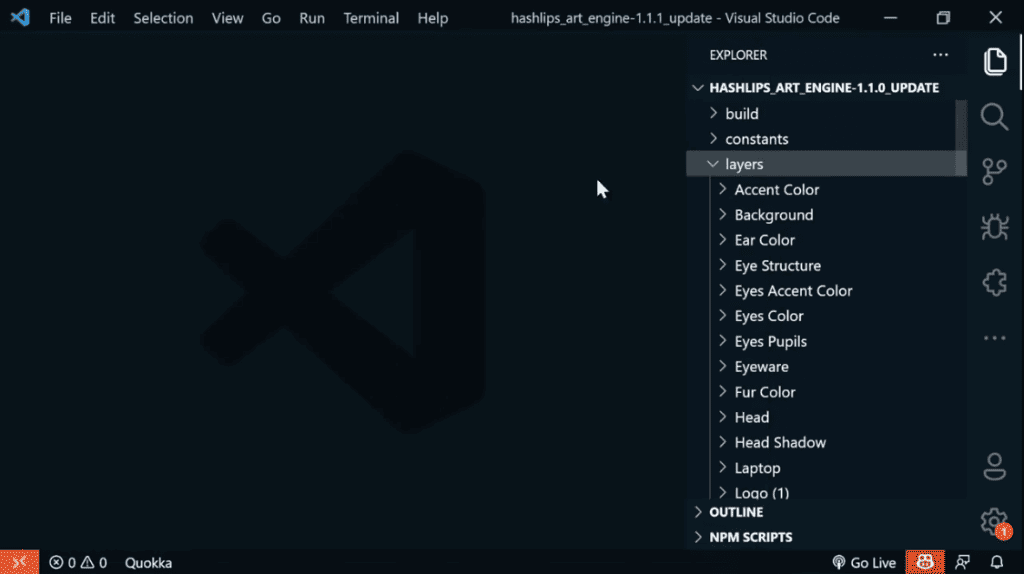
- Close the folder and you will see that the “Layers” section have been updated with the new ones you’ll place inside.
Step 8: Edit the Metadata of the Collection You Want to Generate
- To update the name prefix and description of your collection, go to “config.js” in the “src” section.
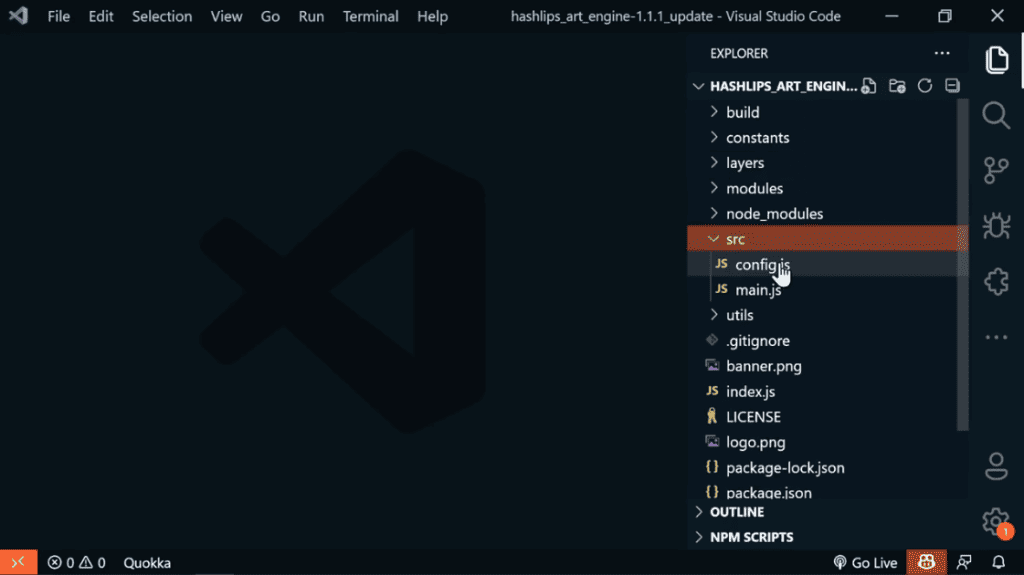
- Change “Your Collection” to the name you want in line 8 (const namePrefix = “Your Collection”);. In this example, we’re using “CoolCats”.
Before:

Edit:

- Change “Remember to replace this description” to your desired description in line 9

- Since we’ll be generating 10,000 images, change the growth size at code line 25 under “layer configurations” from 5 to 10,000.
Before:

Edit:

- Then, below that, you’ll update the layer names in the “layer order” section to match your layer folder names. However, ensure to structure this list correct. Basically, you want the first layer on the list to be the last layer (background) and the last layer on the list to be the furtherest layer.
Before:

Edit:
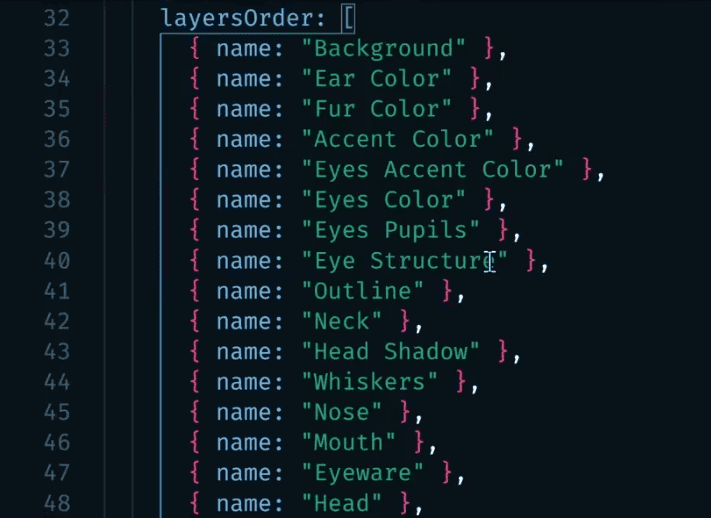
You’ll have something like this, and the list can go on as much layers as you have.
- Update the NFT’s size at code line 102, where we have “const format.”
Before:

Edit:

Note: If you’re not sure which is the right file size for your NFT, read our article on NFT Image Size.
- Then, scroll down to line 139 and add the external link to your collection’s website in the const exterMetadata field. Note that this is just personal preference, you might not add it to yours. However, it’s important to note that this website will show up on OpenSea for each of the NFT.

Step 9: Generate 10,000 Unique NFTs
Before we get started, ensure you’ve added rarity to each layers. One easy way of doing that is by adding a weighted value when naming the layers as I’ve mentioned earlier in this article. Here’s an example below:
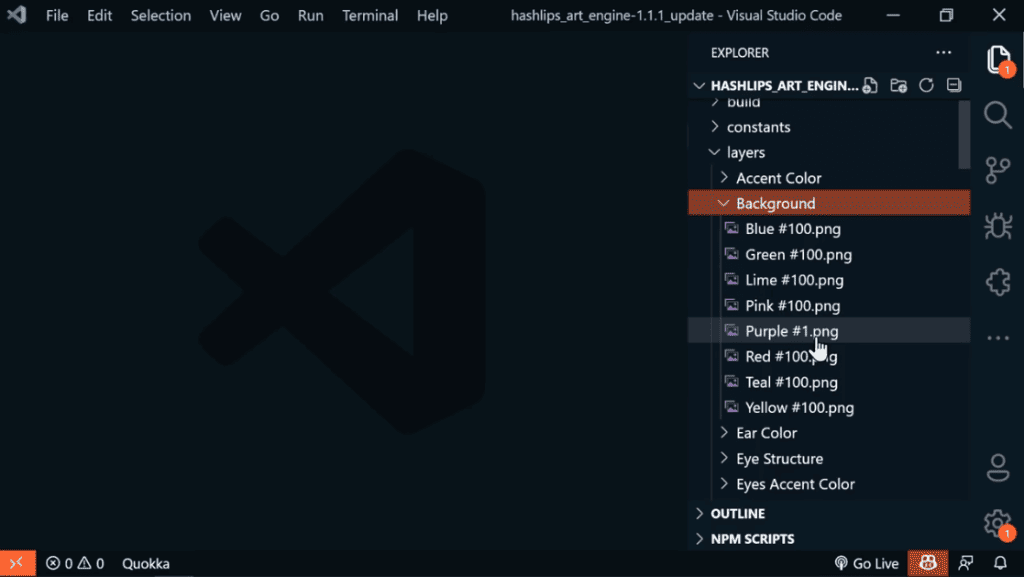
What the #100 means is that that particular layer would only appear 100 times in the collection. That means #1 would be a rare trait. You can always play with this numbers, you might be surprised what you’ll get.
Whenever your ready, you can run the program by clicking on the “Terminal” tab and opening a new terminal like we’ve done previousing. However, now you’ll be typing “npm run create.”
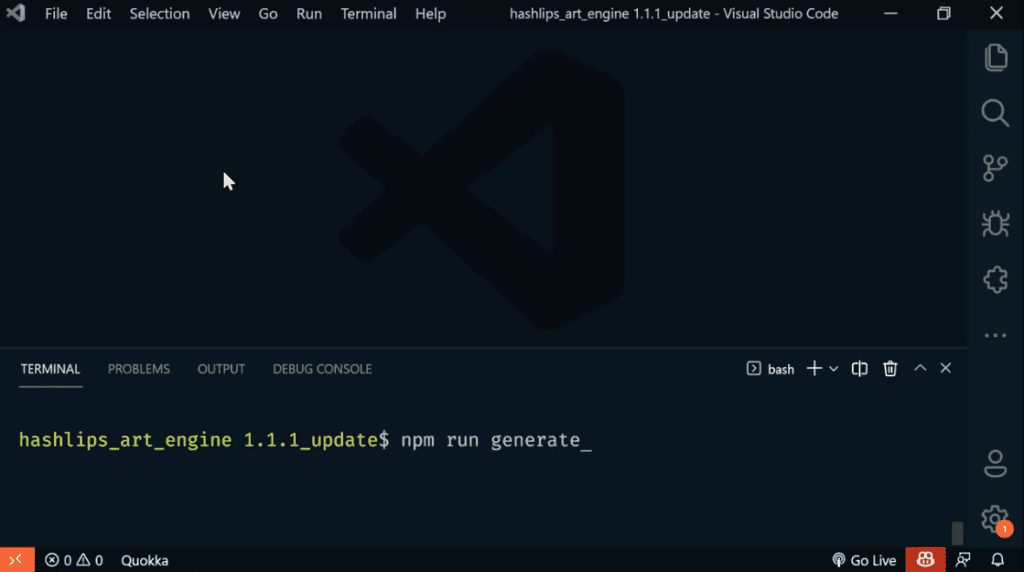
This prompt will now generate 10,000 unique images based on the layers we’ve inputted. The time it would take to generate the images would vary based on the system you’re using. On average, it should take at least an hour to finish generating so wait for it to complete.
That’s all! Congratulations; you now have a unique 10k NFT collection!
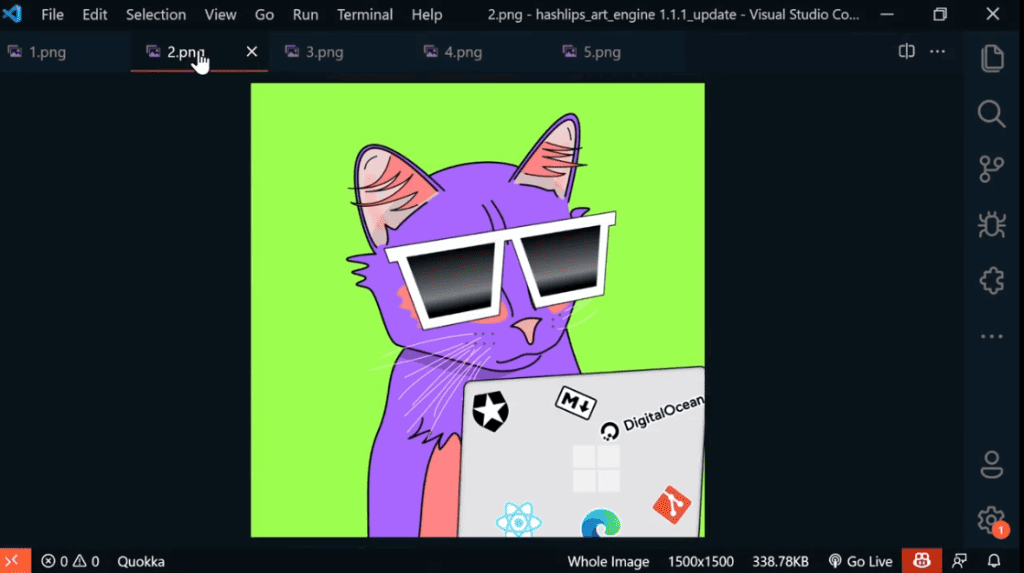
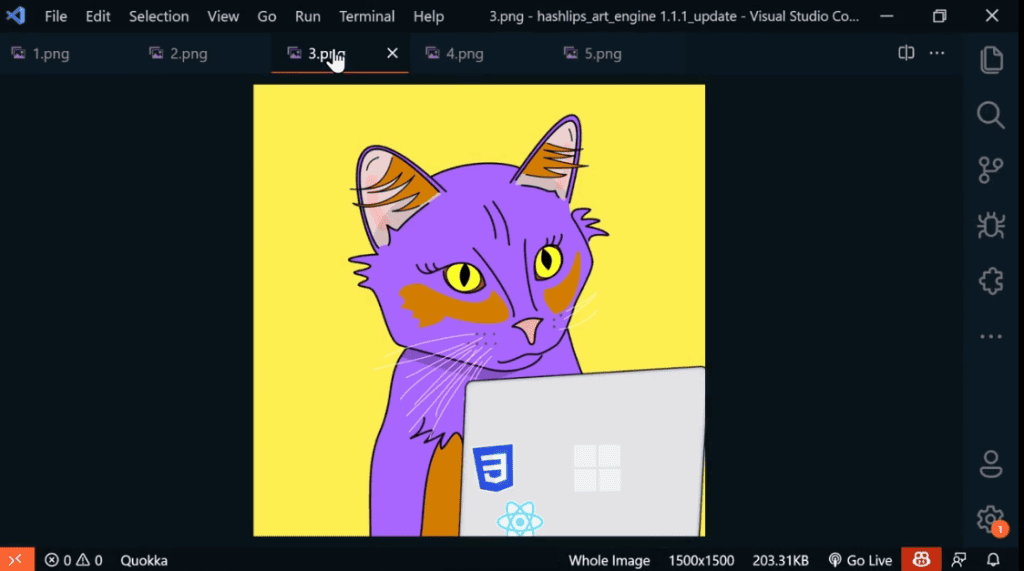
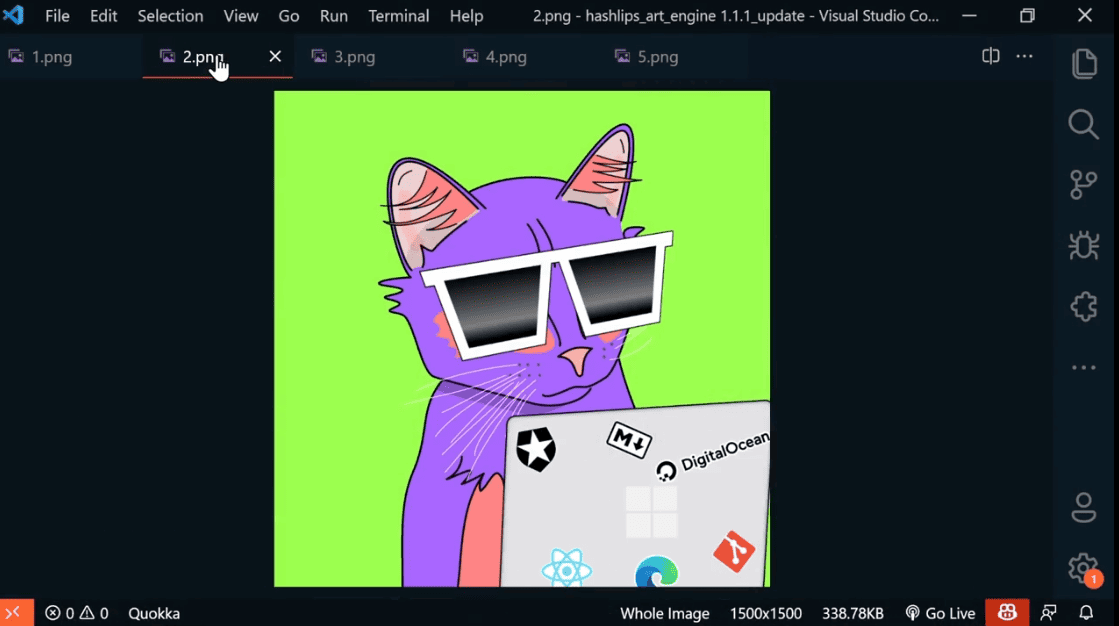
Here’s a snippet of some of the generated NFTs using the method we’ve explained:
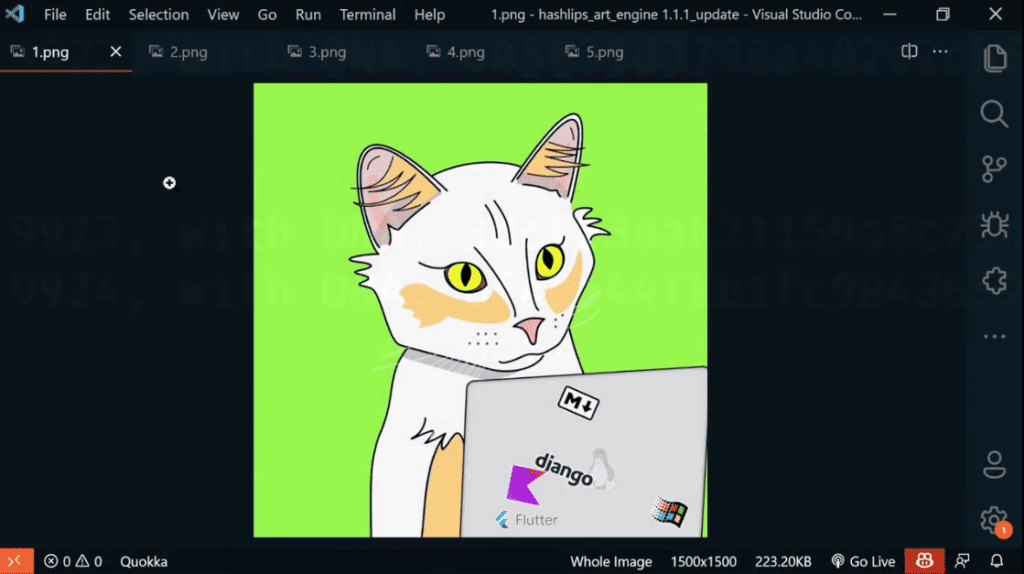


![Can You Get NFTs for Free? Top 10 Ways [Free Mints, Giveaways, and More] 45 Can You Get NFTs for Free? Top 10 Ways [Free Mints, Giveaways, and More]](https://ebutemetaverse.com/wp-content/uploads/2022/11/get-nfts-for-free-768x432.png)
